Xiang Ji

Example personal webpage.
Tutorial: How this site was built
Create your github.io repository
You get one site per GitHub account and organization (reference).
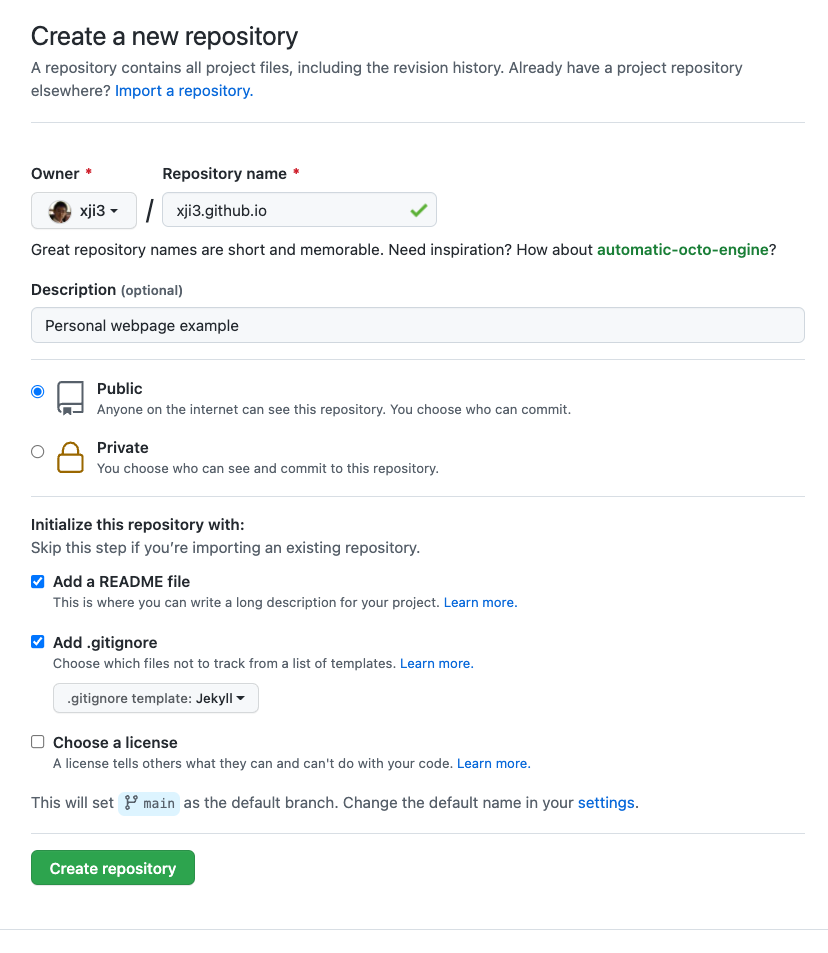
We will simply create a new public repository named “username.github.io”, where username is your username (or organization name) on GitHub. Note, the url for your GitHub page is thus https://username.github.io/ (Dr. Google can tell you how to link it to a different url).
First look of your git repo
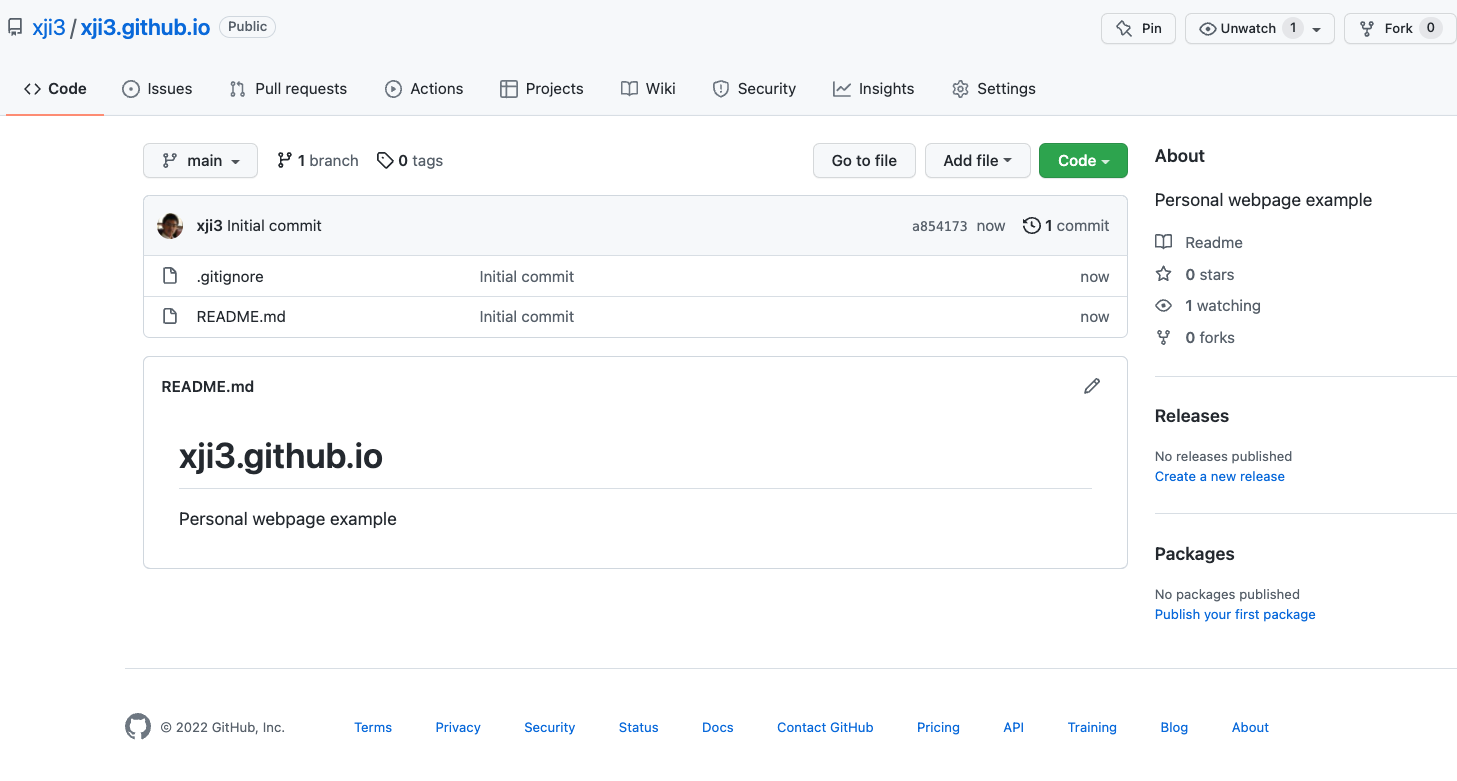
Your new repository now looks similar to the image below
Choose a Jekyll theme for your site
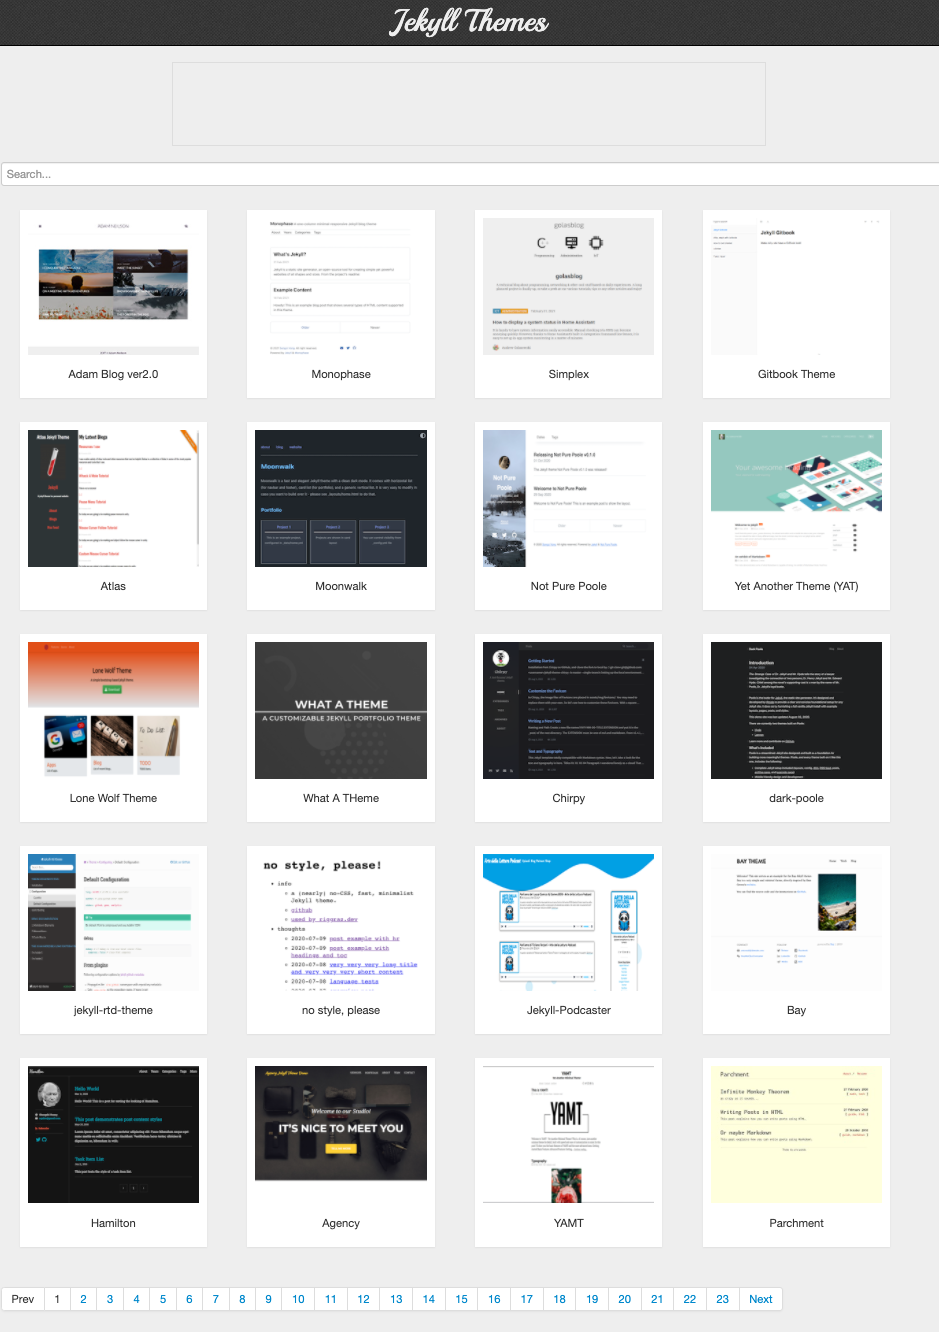
Without knowing what everything is, let’s just pick a Jekyll theme for our site. My personal favorite (right now) is the Minimal theme. We will use this theme in this tutorial, but feel free to pick one for yourself (e.g. take a look at http://jekyllthemes.org/).
Find the wheel
Let’s move to the project repository of Minimal theme on GitHub. We want to build our webpage by modifying these files.
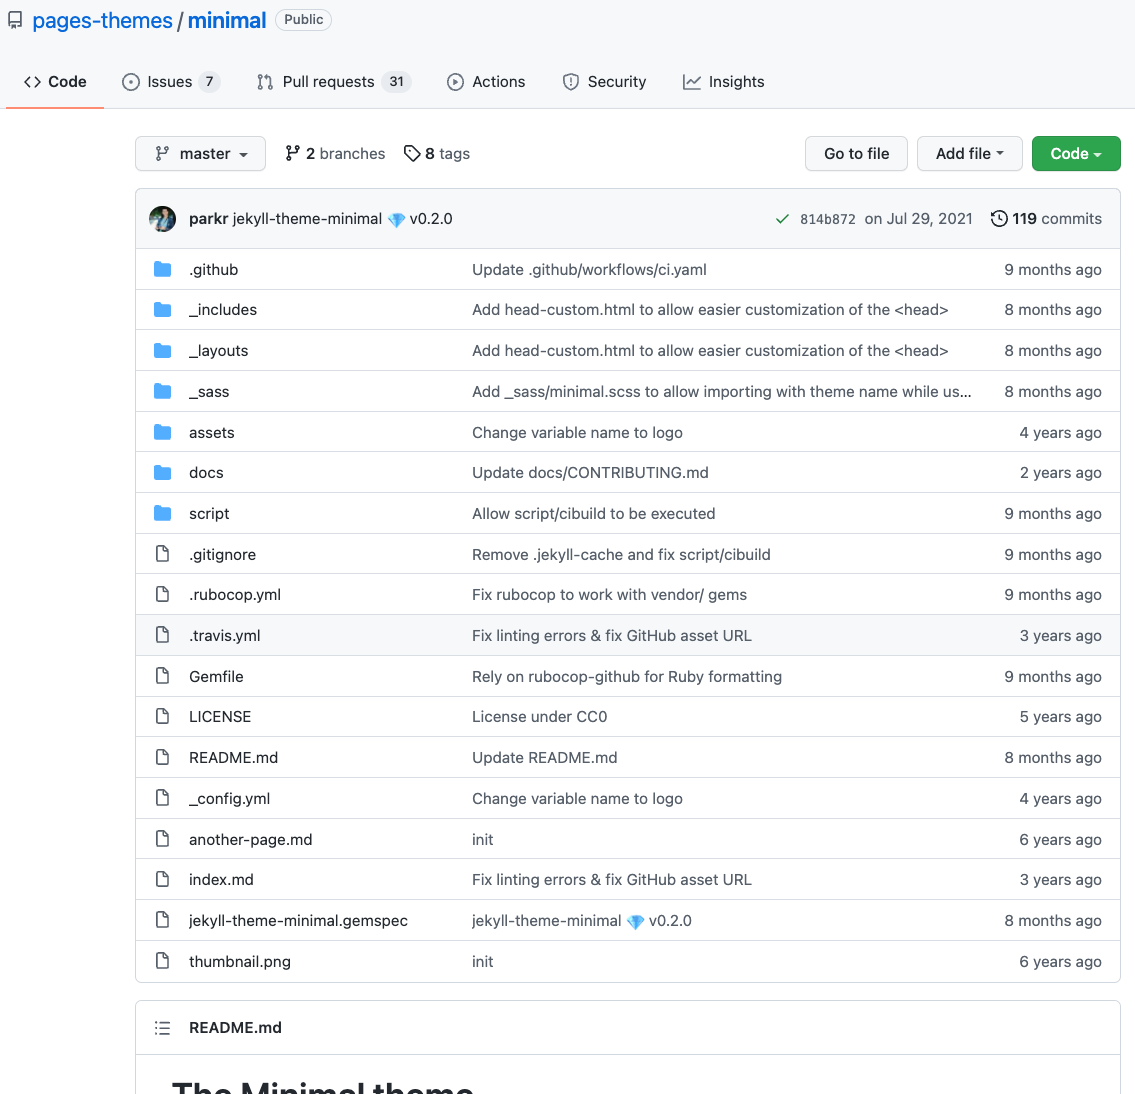
Now, we want to get a local copy of these files.
You could do it either by
- type in the terminal
cd where_to_store_this_repo git clone https://github.com/pages-themes/minimal.git - Download a ZIP file from “Code” -> “Download ZIP”
We will now git clone both repositories and copy paste all files from minimal to our repo. This seems the easiest way of doing it, but there might be better ways (e.g. stack overflow answer).
I run these commands in terminal (the last line is to copy non-hidden files only: reference):
git clone https://github.com/xji3/xji3.github.io.git
git clone https://github.com/pages-themes/minimal.git
cd xji3.github.io
rsync -av --exclude=".*" ../minimal/ ./
Let’s follow these instructions to build the static site locally with Jekyll first.
bundle exec jekyll serve
I ran into an error mesage:
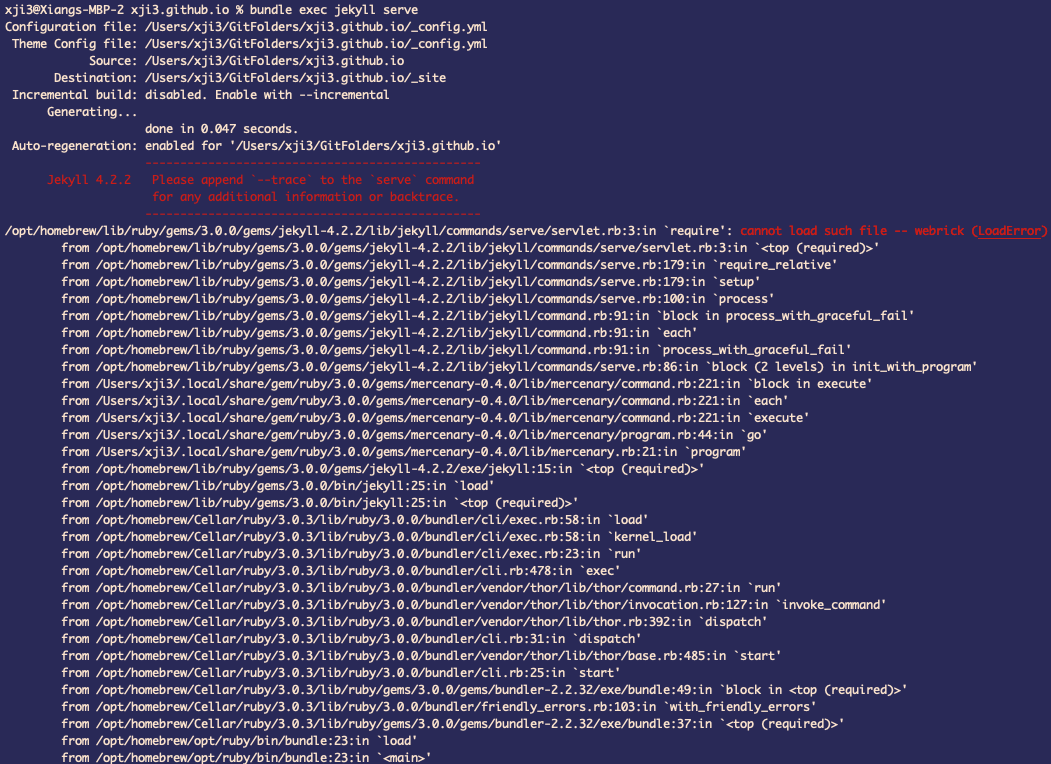
After some googling, it seems fixed by following the solution in this jekyll issue report and adding a line into the Gemfile
gem "webrick"
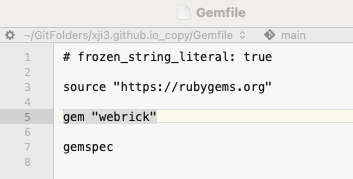
Now you should be able to build and host the site locally. Your terminal might look like this
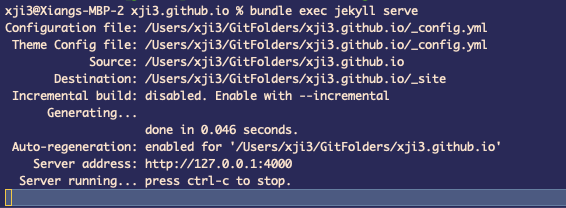
And you can open the site from the server address http://127.0.0.1:4000/ in your browser
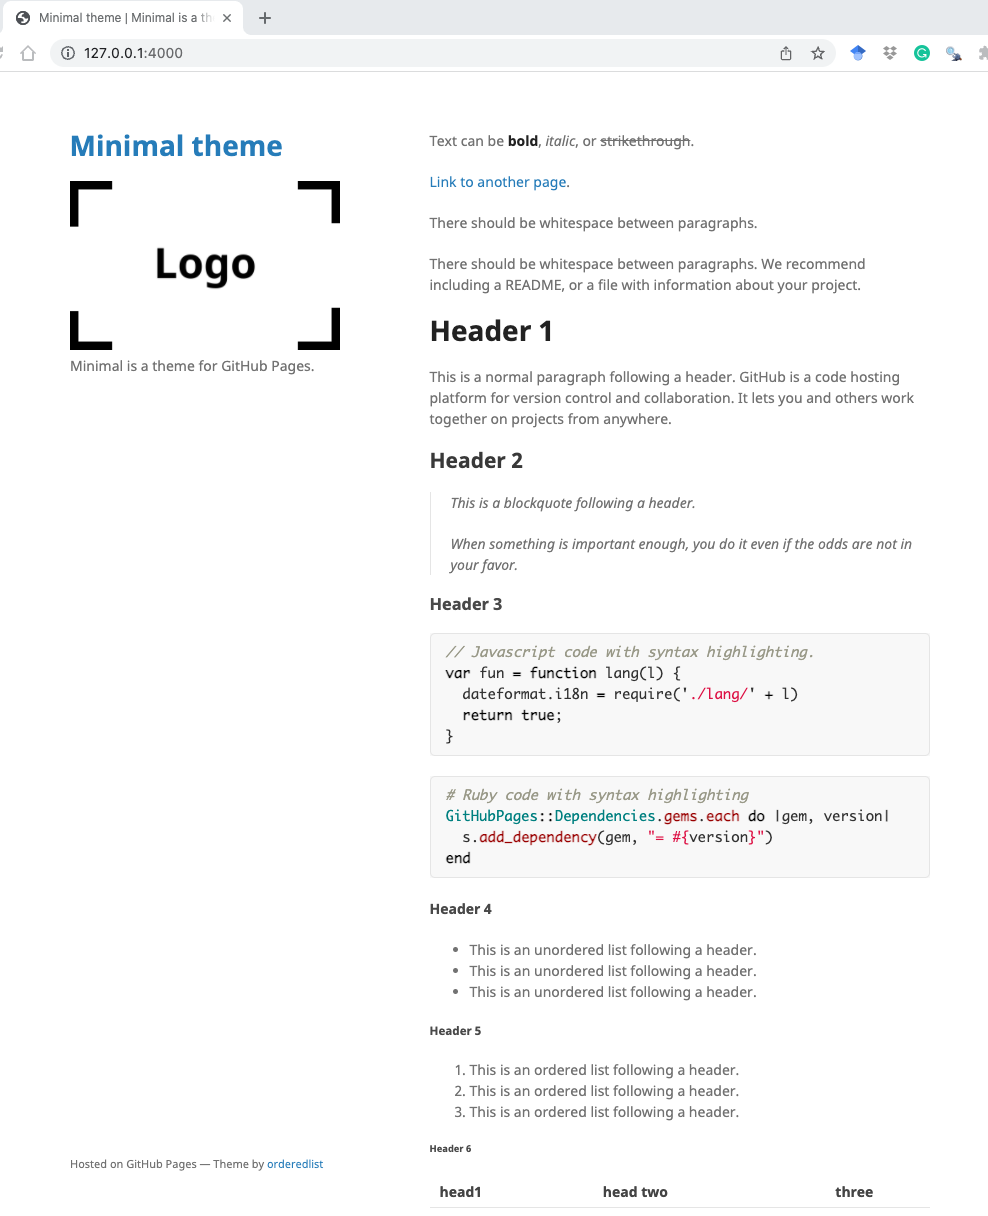
Now, we will push these changes from our local copy onto GitHub’s server. We can do it by
- using command line (recommended)
- GitHub web page UI
git status
git add .
git commit -m 'copy over minimal theme files'
git push
Wait for GitHub to build the site and then see the change (https://xji3.github.io/)
Modify the wheel, not reinvent it
Now, let’s look at what and where each element in the webpage is so that we can turn it into our personal webpage!
_config.yml file
At the minimum survival level, the “_config.yml” specifies “Configuration” for your site.

_layouts folder
Next, let’s take a look at the html files in the _layouts folder. The html files define templates that can be used by any page in your site and wrap around page content. For a more detailed description, please visit this page.
Let’s open the default.html file with a text editor. Locate the line that contains “site.title” (line 18)
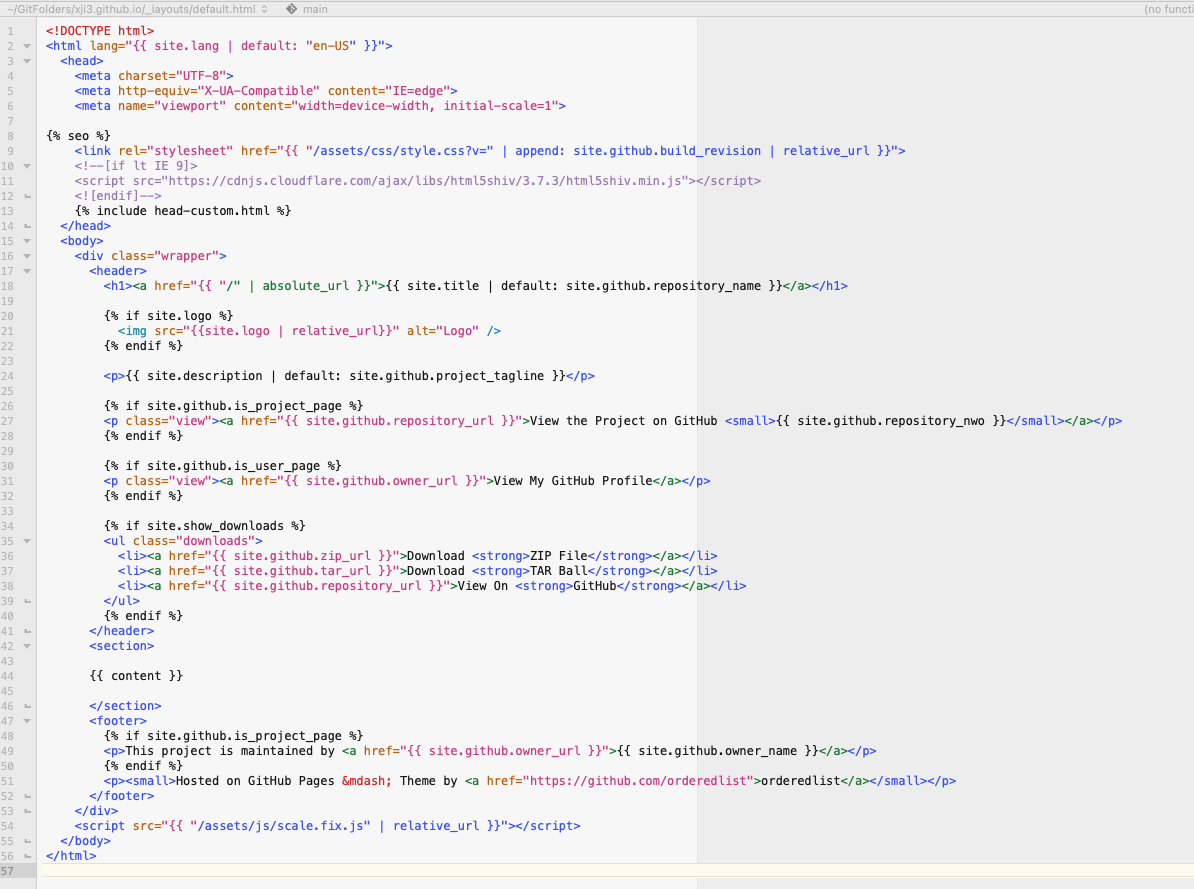
Looks familiar? We saw it in the “_config.yml” file! Basically, this chunk means getting the value stored in the variable “site.title” which is defined in the “_config.yml” file.
For more details, you want to learn about Liquid. If you know nothing about HTML format, this minimal amount of introduction might help HTML intro and of course, Google is your best friend.
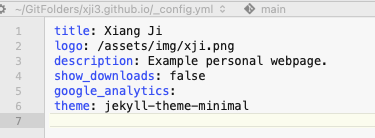
Now, let’s change the “site.title” value by changing the “_config.yml” file. And we want to point the “logo” to a different picture. The modified “_config.yml” file looks
Let’s take a quick look at the changes to the site (locally)
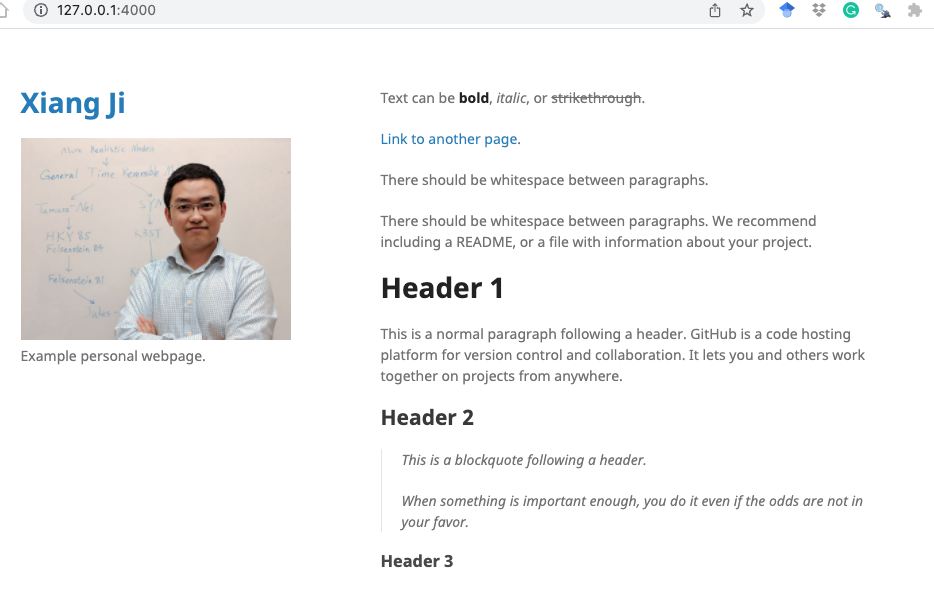
I also want to change the tiny single line at the lower left corner. We could do this by modifying the “default.html” file.

_includes folder
We won’t talk about the “_includes” folder although it has important functionalities. You might want to read this page if interested.
Include is related to the statement containing “include”, e.g. { % include footer.html % } will let Jekyll look for the referenced “footer.html” file in the _includes folder at the root of the source directory and insert its content.
To make things simple, we can comment out the { % include head-custom-google-analytics.html % } at line 4 in “_includes/head-custom.html” file.
Directory structure
As usual, we ignore many details (available here). But just note that Jekyll looks for “index.html” or “index.md” file to render for each webpage.
Now, let’s modify the “index.md” file in the root directory (which originally contains a Markdown cheat sheet). If you want to keep the cheat sheet for reference, you can simply rename the file to a different name and create a new “index.md” file.
I just copy existing content from my personal webpage here. The modified “index.md” file looks

Let’s see how the site changes locally again.

Navigation bar
It looks lame to have a personal website with a single page. Let’s add in a Navigation bar with multiple pages.
We do this by, again, modifying the “default.html” file from the “_layouts” folder which controls the page layout of our site. We now add a section inside the “<header>” section.

And the site now looks

Fill/edit side bar links
You can see that the navigation link “CV” points to folder “/CV”. And similarly, Jekyll looks for an “index” file inside folder “/CV” to render the page.
We can simply create a folder named “CV” with an “index.md” file inside. As lazy as I am, of course I just copied over my CV from existing site. I copied over “/Publication”, “/teaching” folders. Note that the “Publicaiton” folder actually contains content for the “Research” tab.
I feel happy with these modifications. I want to push the changes onto GitHub.
git status
git add .
git commit -m 'add in personal webpage content into Minimum default files'
git push
You need to wait a few minutes for GitHub to build your site. Be patient and remember, it is free.
After the site is built, you might notice a little difference

If you don’t like the “View My GitHub Profile” part, you should be able to remove it by editing the “default.html” page by yourself.
Embed pdf file into webpage
You can embed pdf file into the webpage by using PDFObject javascript. You can find an example of it in how I wrote my “CV” and “Research” pages.
font color
I want to customize the font colors to have wave green instead of blues (source). This might be out of the scope of this course, but you could read about _sass.
With some guess-and-trial, I found that the link colors are defined in “_sass/jekyll-theme-minimal.scss”. I simply changed the color for “h1” and “a” tags.

Markdown cheat sheet
Of course I kept a cheat sheet locally here
Q&A
-
Jekyll installation problem
Thanks to Rubaiyat Islam for sharing this webpage that solves the installation problem for him.